
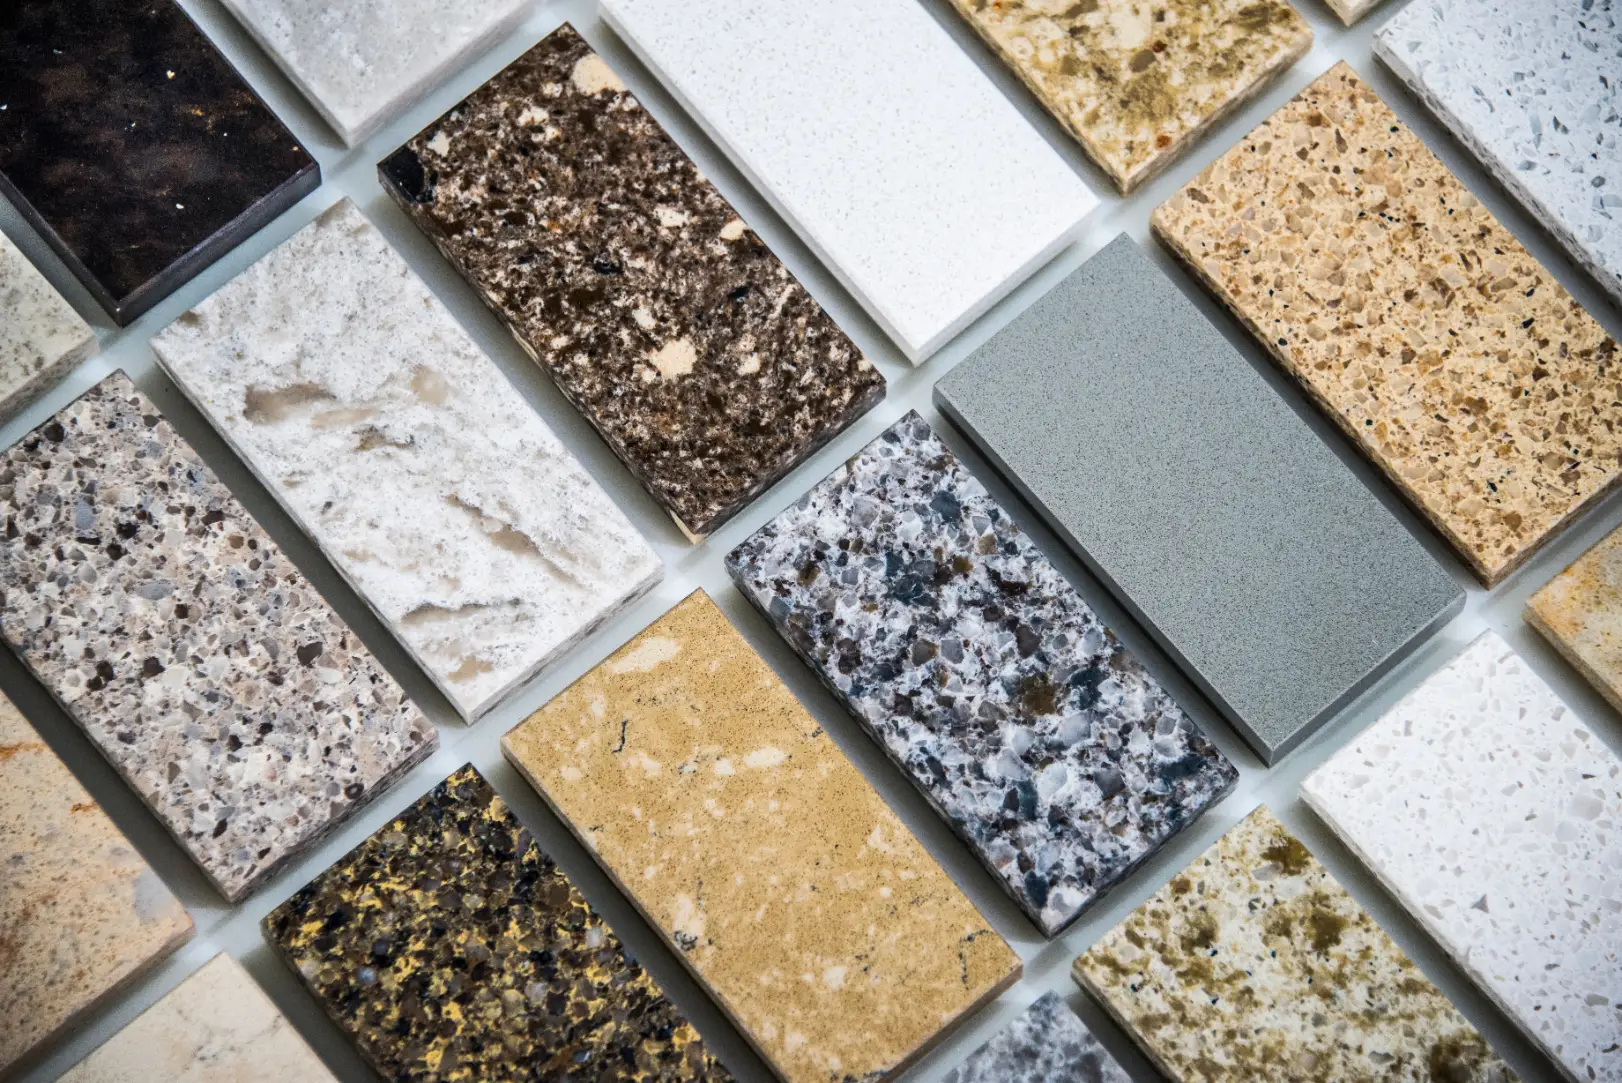
A beautiful floor doesn’t need to look brand-new to make a room feel polished. What matters is how well the surface has been cared for over the years. Natural stone tiles bring organic color, texture, and character into kitchens, bathrooms, entryways, and other living spaces.
With proper installation and maintenance, they can create a durable surface that feels just as timeless as it looks. The challenge is that stone isn’t something you should clean with whatever happens to be under the kitchen sink. Some everyday products can dull the finish, discolor grout, or damage certain types of stone.
Knowing what to use, what to avoid, and how to handle spills can help preserve your floors without turning cleaning into a complicated ritual. Keep reading for a practical routine that treats natural stone with the care it deserves.
Clean Stone the Smarter Way
Natural stone comes from the earth, and every variety has its own characteristics. The safest cleaning habits focus on removing dirt without unnecessarily exposing the stone or grout to harsh chemicals, excessive moisture, or abrasive tools.
1. Know Your Stone Before You Clean
The first step is identifying what kind of stone you’re working with. Marble, granite, travertine, limestone, and slate may all be used for flooring, but they don’t necessarily respond to cleaning products in the same way.
This becomes especially important with acid-sensitive stones. Marble, limestone, and travertine contain calcium-based minerals that can react with acidic substances. A cleaner that seems harmless on another surface may leave dull or etched areas on these floors.
If you’re learning how to clean natural stone floors, don’t begin by reaching for the strongest cleaner available. Start by confirming the material and reviewing any care recommendations provided by the stone or sealer manufacturer.
When you’re unsure what was installed, a flooring professional may be able to help identify it. A little detective work at the beginning can prevent a cleaning mistake that becomes much harder to fix later.
2. Sweep Away Grit First
Stone may feel incredibly solid beneath your feet, but loose grit can still become a problem. Sand, crumbs, dirt, and tiny outdoor particles can act like abrasives when they’re repeatedly dragged across the floor.
Regular dry cleaning is one of the simplest ways to protect the surface. Use a soft-bristled broom, dust mop, or a vacuum suitable for hard flooring. If you’re using a vacuum, avoid attachments or settings that could scratch the finish. Pay extra attention to entryways and high-traffic paths. These areas collect more outdoor debris and tend to experience greater friction from shoes.
Mopping without removing loose dirt first can simply push gritty particles around the room. Taking a few minutes to sweep or vacuum creates a cleaner starting point and makes the wet-cleaning stage more effective.
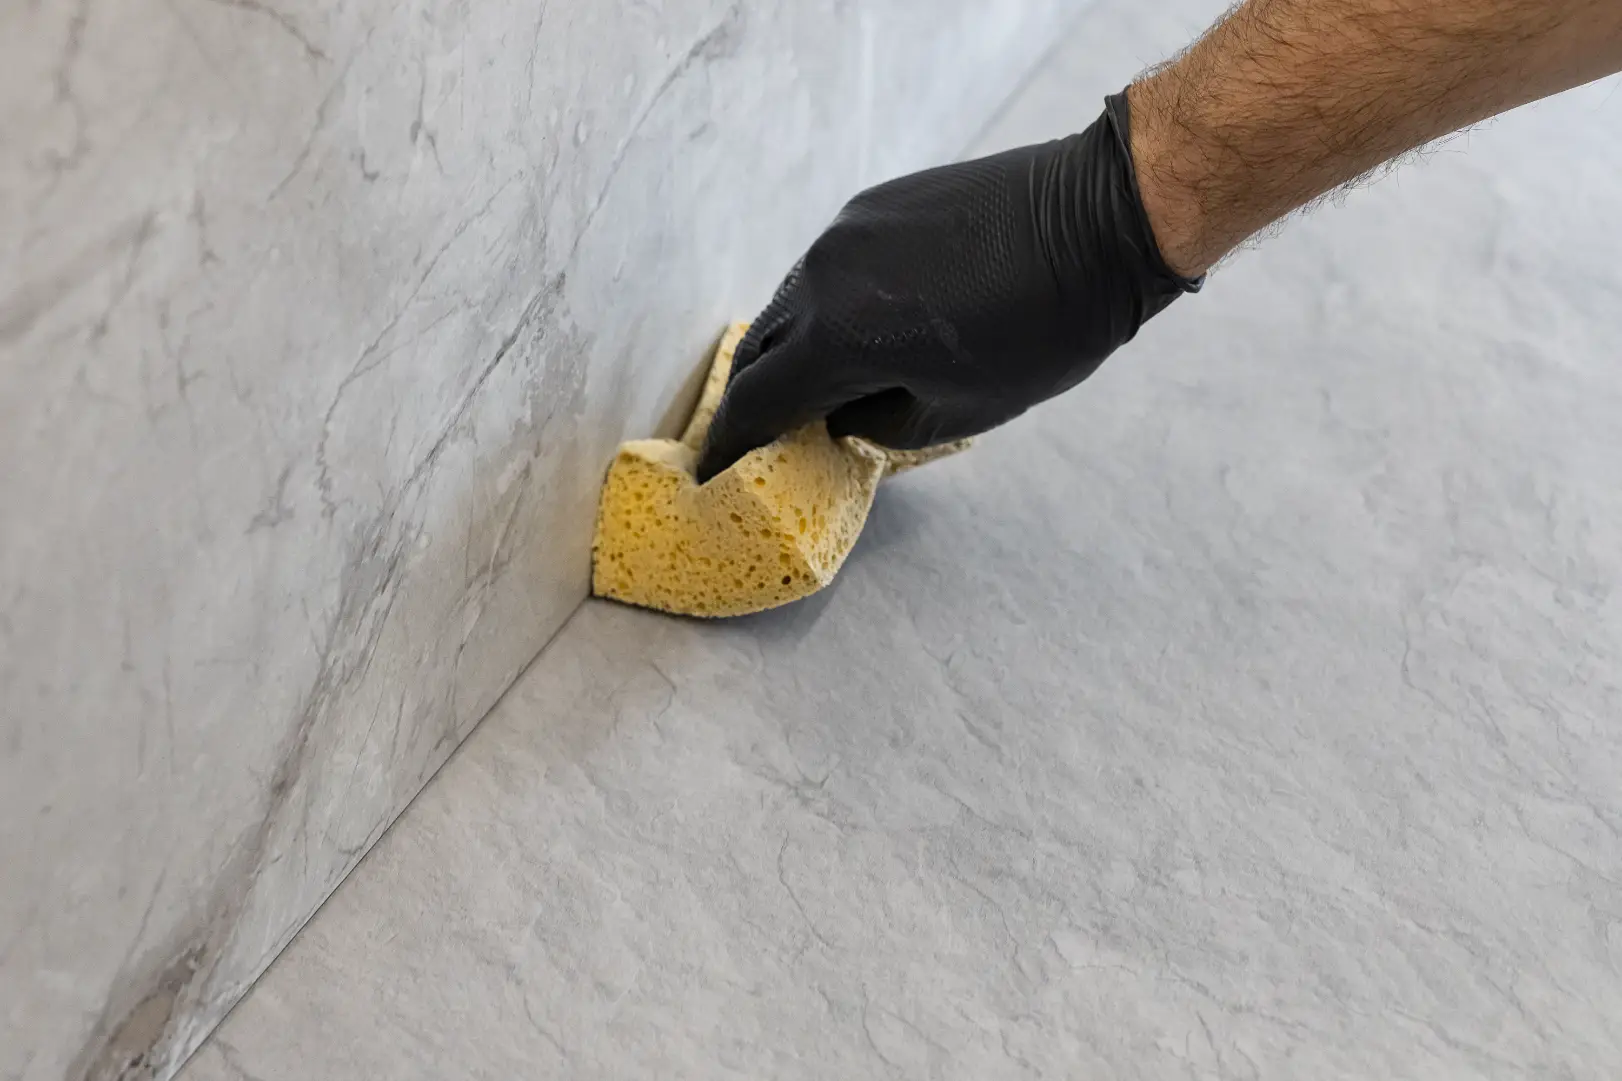
3. Choose a Stone-Safe Cleaner
One of the most important rules for how to clean natural stone floor tiles is surprisingly simple: don’t assume a household cleaner is safe just because it’s labeled “natural” or “all-purpose.” Look for a cleaner specifically formulated for natural stone and compatible with your particular material and finish.
A pH-neutral product is often recommended for routine stone care, but manufacturer instructions should still guide your choice. More product doesn’t necessarily mean a cleaner floor, either. Excess cleaner can leave a film that attracts dirt and makes the surface look cloudy or streaky.
Follow the product’s dilution and application directions rather than improvising. If you’re trying a new cleaner, test it in a small, inconspicuous location before applying it across the entire floor. Good maintenance should protect the finish while lifting everyday soil. You shouldn’t need aggressive chemistry for routine cleaning.
4. Be Careful With Vinegar and Other Acids
Vinegar has become a popular DIY cleaning ingredient, but natural stone is one place where homemade cleaning advice can go wrong. Acidic products can etch calcium-based stones such as marble, limestone, and travertine. Etching isn’t simply dirt sitting on top of the surface. It’s a physical or chemical change to the finish, which means ordinary cleaning won’t make the affected area disappear.
Lemon juice and acidic bathroom cleaners can cause similar problems. Even certain foods and drinks can affect sensitive stone if spills are allowed to remain on the floor. That doesn’t mean every natural stone reacts identically. It does mean a generic internet cleaning recipe shouldn’t take priority over the requirements of the actual material installed in your home.
When you’re unsure, keep it simple. A compatible stone cleaner is a much safer starting point than experimenting with acidic pantry ingredients.
5. Don’t Scrub Harder Than Necessary
A stubborn spot can make you want to reach for a rough scrubber and put some muscle into it. With stone, aggressive scrubbing may trade one problem for another. Abrasive pads, stiff brushes, scouring powders, and certain cleaning tools can scratch or alter some finishes. Polished stone deserves particular care because surface changes may become noticeable when light hits the floor.
Start with the least aggressive method likely to work. Let an appropriate stone-safe cleaner sit for the recommended amount of time if the product instructions allow it. Then use a soft cloth, mop, or suitable brush to gently loosen the soil. If the stain remains, identify what caused it before escalating the treatment. Oil, rust, organic stains, mineral deposits, and surface residue may require different approaches.
Trying to scrub every mark away with brute force isn’t good stone care. Knowing what you’re treating is far more useful.
6. Use Water Without Soaking the Floor
Mopping natural stone isn’t complicated, but more water isn’t always better. You want enough moisture to pick up dirt without leaving the surface unnecessarily saturated. Use a clean mop and change the water when it becomes visibly dirty. Otherwise, you’re spreading the same soil back across the room.
After cleaning, don’t leave puddles sitting on the floor. Standing moisture may affect grout, penetrate porous areas, or leave mineral marks depending on the stone, finish, sealer, and water quality.
Drying the surface with a clean microfiber cloth or mop can also reduce streaking. This extra step is particularly useful on polished floors where water marks are more noticeable. If you want to know how to clean indoor stone floors, think gentle and controlled rather than wet and aggressive. Routine cleaning shouldn’t feel like you’re washing down a patio.
7. Give Kitchen Stone Extra Attention
Kitchens create their own cleaning challenges. Grease, food, cooking oils, sauces, drinks, and constant foot traffic can all reach the floor. If you’re researching how to clean stone floors in kitchen areas, speed matters when spills happen. Blot spills promptly instead of allowing them to sit, particularly when you’re dealing with oil, acidic foods, wine, coffee, or strongly colored liquids.
Avoid wiping a large spill across a wider area. Blotting can help contain it before you follow with an appropriate cleaner. Routine sweeping is also valuable because kitchen floors accumulate crumbs and grit quickly. Areas around the sink, stove, refrigerator, and food-preparation spaces may need more frequent attention than the rest of the room.
Kitchen stone should be beautiful enough to enjoy and practical enough to live on. Consistent maintenance is usually easier than trying to rescue a heavily soiled floor later.
8. Treat Bathroom Stone With Care
Bathrooms expose natural stone to water, personal-care products, soap residue, and humidity. That combination makes regular cleaning especially important. The answer to how to clean stone floors in bathroom spaces still begins with products compatible with the stone.
Don’t automatically use a strong bathroom or limescale cleaner simply because it’s designed to attack soap scum or mineral buildup. Acidic formulations may damage sensitive stone. Ventilation also helps. Allowing wet surfaces to dry can reduce the conditions that contribute to mildew and persistent moisture around grout lines.
Shower floors deserve particular attention because they’re exposed to water far more often than ordinary bathroom flooring. Rinse away product residue when appropriate and avoid letting shampoo, conditioner, soap, or other products build up over time.
If mineral deposits become stubborn, use a solution specifically appropriate for your stone. Removing the deposit isn’t worth damaging the surface beneath it.
9. Don’t Forget the Grout
Sometimes a stone floor looks dirty even when the tiles themselves are clean. The real problem may be the grout lines. Learning how to clean grout on natural stone floors requires thinking about both materials at once. A grout cleaner may work wonderfully on ceramic tile but be too harsh for the natural stone touching it.
Choose a product that’s compatible with both the grout and surrounding stone. Apply it carefully and use a suitable soft brush if gentle agitation is needed. Avoid assuming bleach or highly acidic cleaners are automatically appropriate for discolored grout. Depending on the installation, those products can create unwanted effects on nearby materials.
Grout may also need professional attention when ordinary cleaning no longer improves its appearance. Persistent discoloration can come from staining, embedded soil, moisture issues, or deterioration rather than simple surface dirt. Clean grout makes the entire installation look fresher, so it deserves the same thoughtful maintenance as the stone.
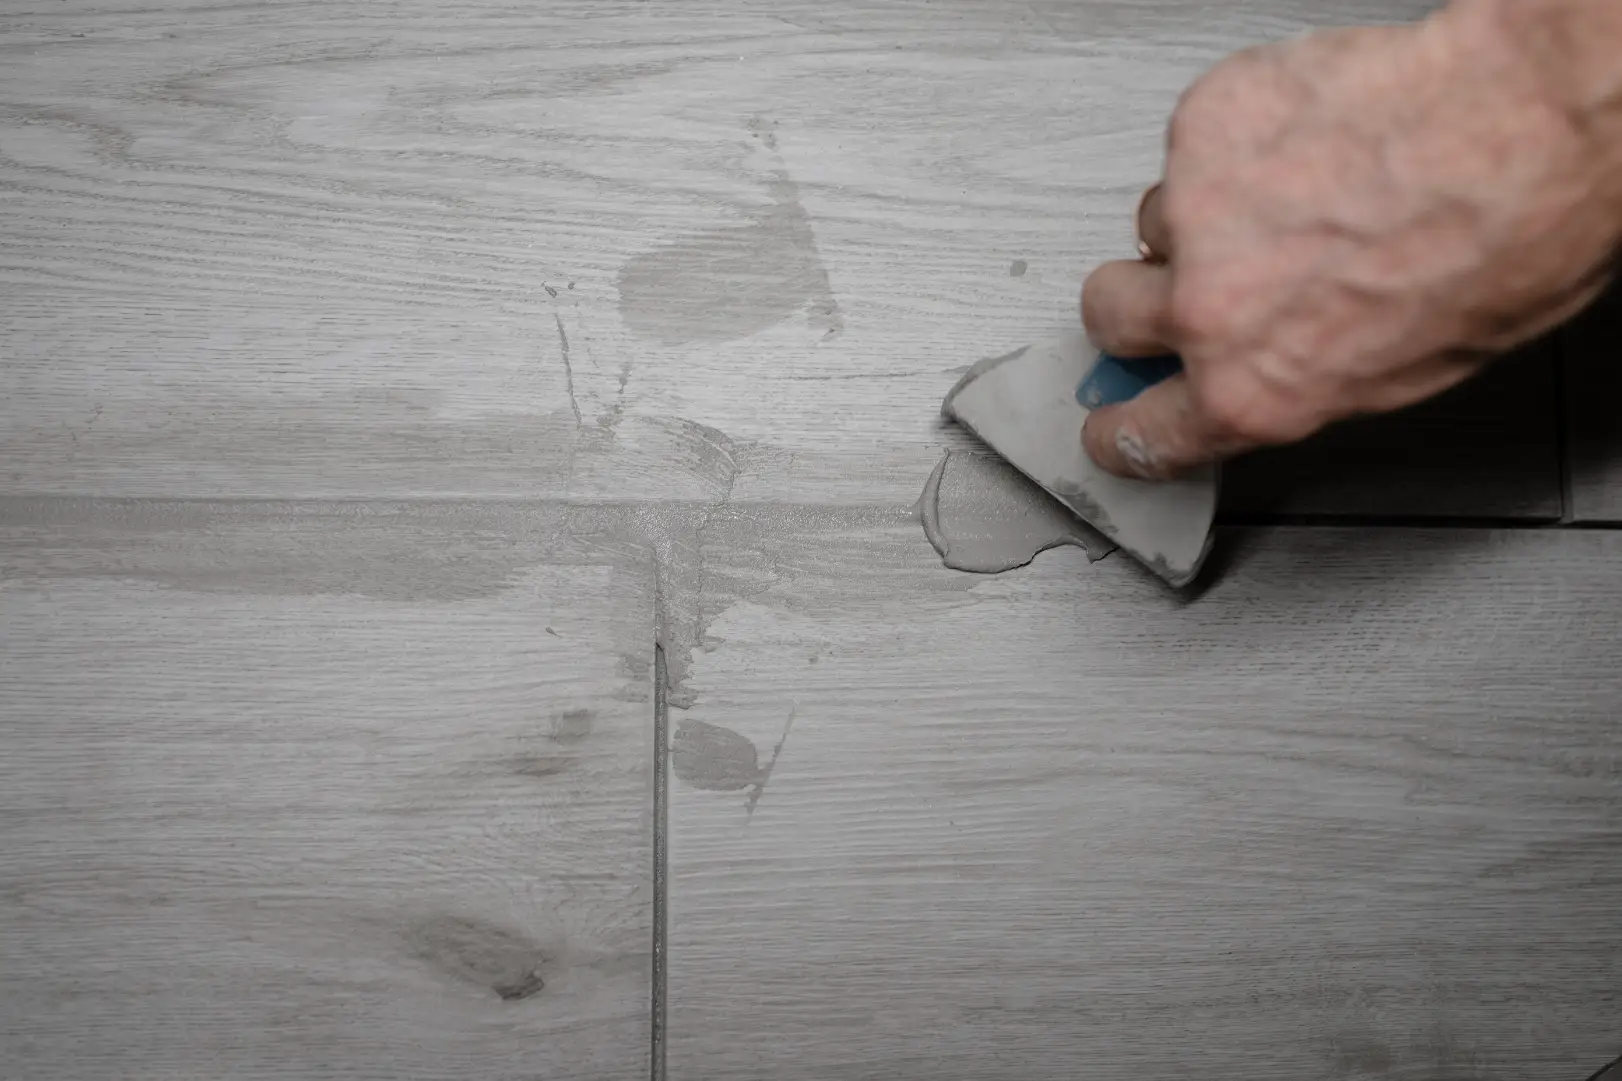
Beautiful Stone Starts With the Right Foundation
Caring for natural stone becomes much easier once you stop treating it like every other hard floor. Gentle cleaning, stone-compatible products, prompt spill care, thoughtful grout maintenance, and protection from abrasive dirt can help stone tiles keep their character for years.
If you’re considering stone for a new room or a larger home transformation, Wadsworth Flooring & Remodeling in South Daytona, FL, can help with professional stone tile installation as well as other flooring and remodeling options for your home. The right material, properly installed and thoughtfully maintained, can turn an everyday floor into a feature you’ll appreciate every time you walk across it.
Contact us today to book your consultation!